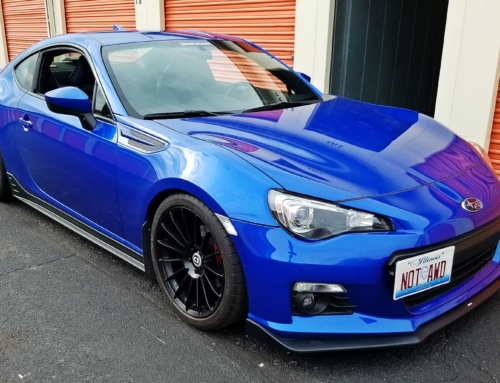
So back when I installed my coilovers, I thought I didn’t have any rubbing issues. That turned out to be slightly false. The reason I didn’t think I had this problem, at first, is that the rubbing wasn’t consistent. It depends on how the suspension is compressed based on the terrain the car is on. Consistent or not, though, it started manifesting itself randomly in various situations.
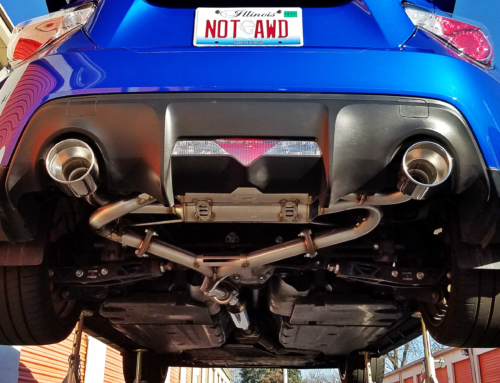
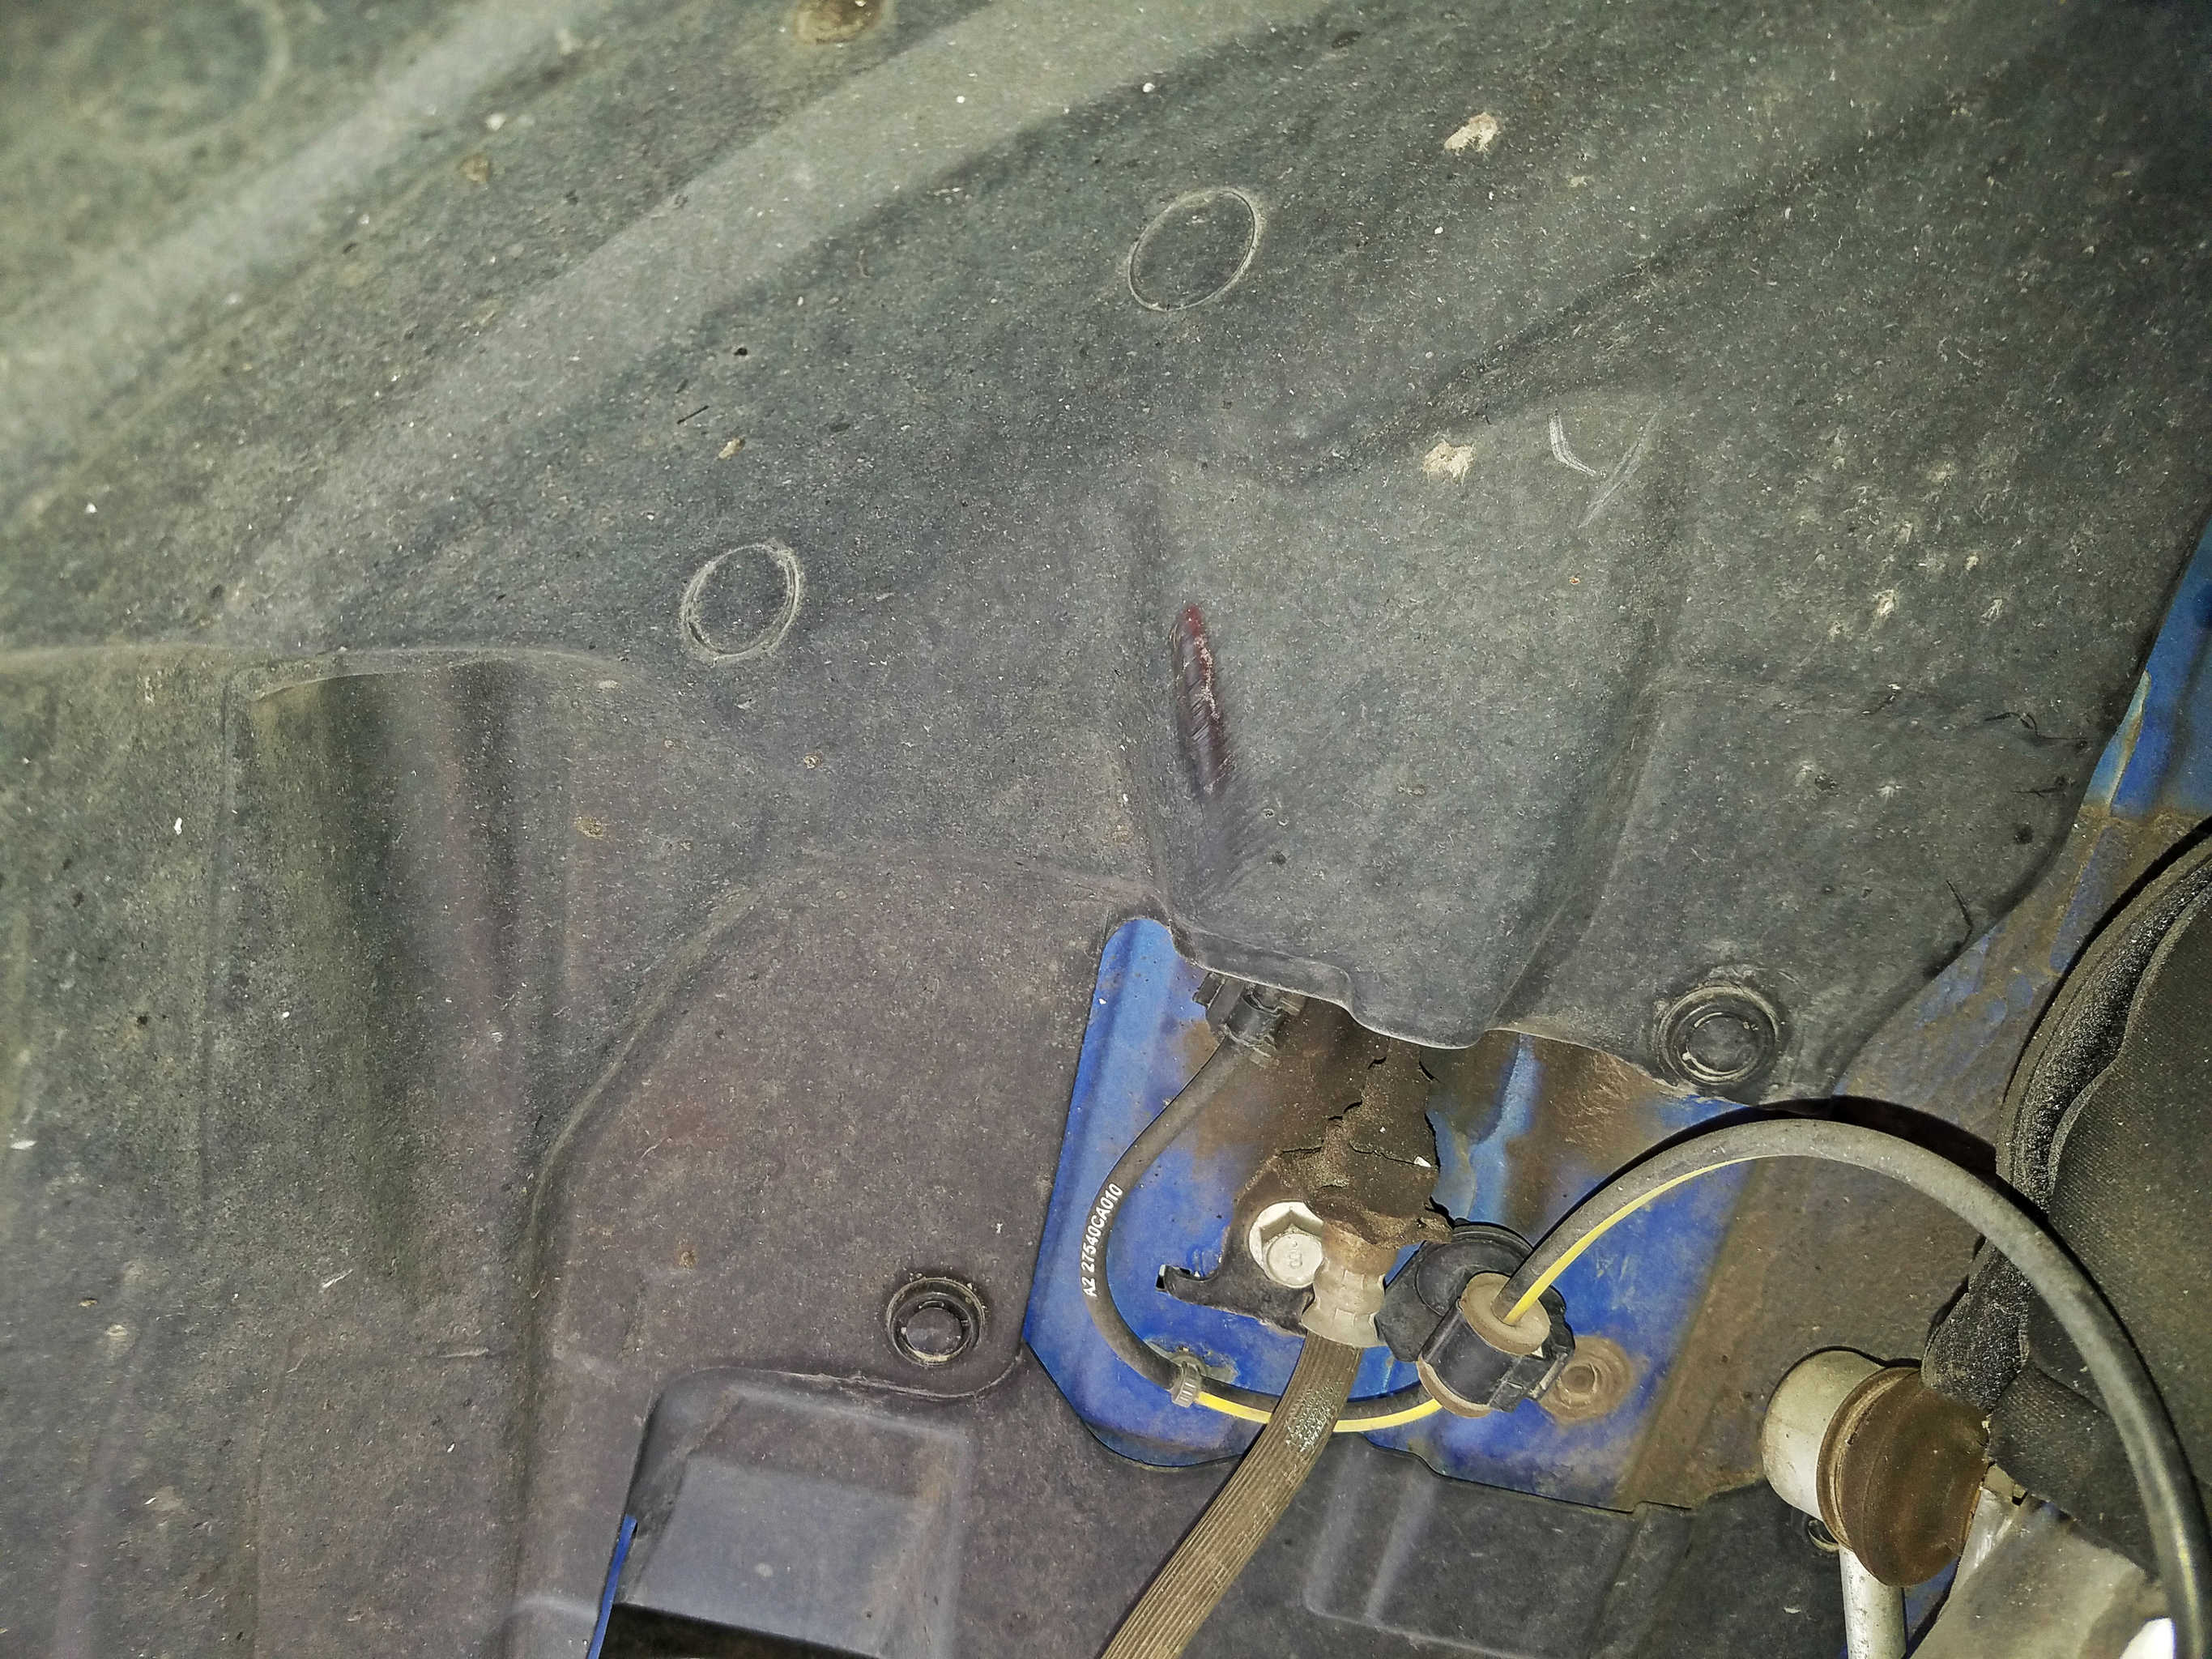
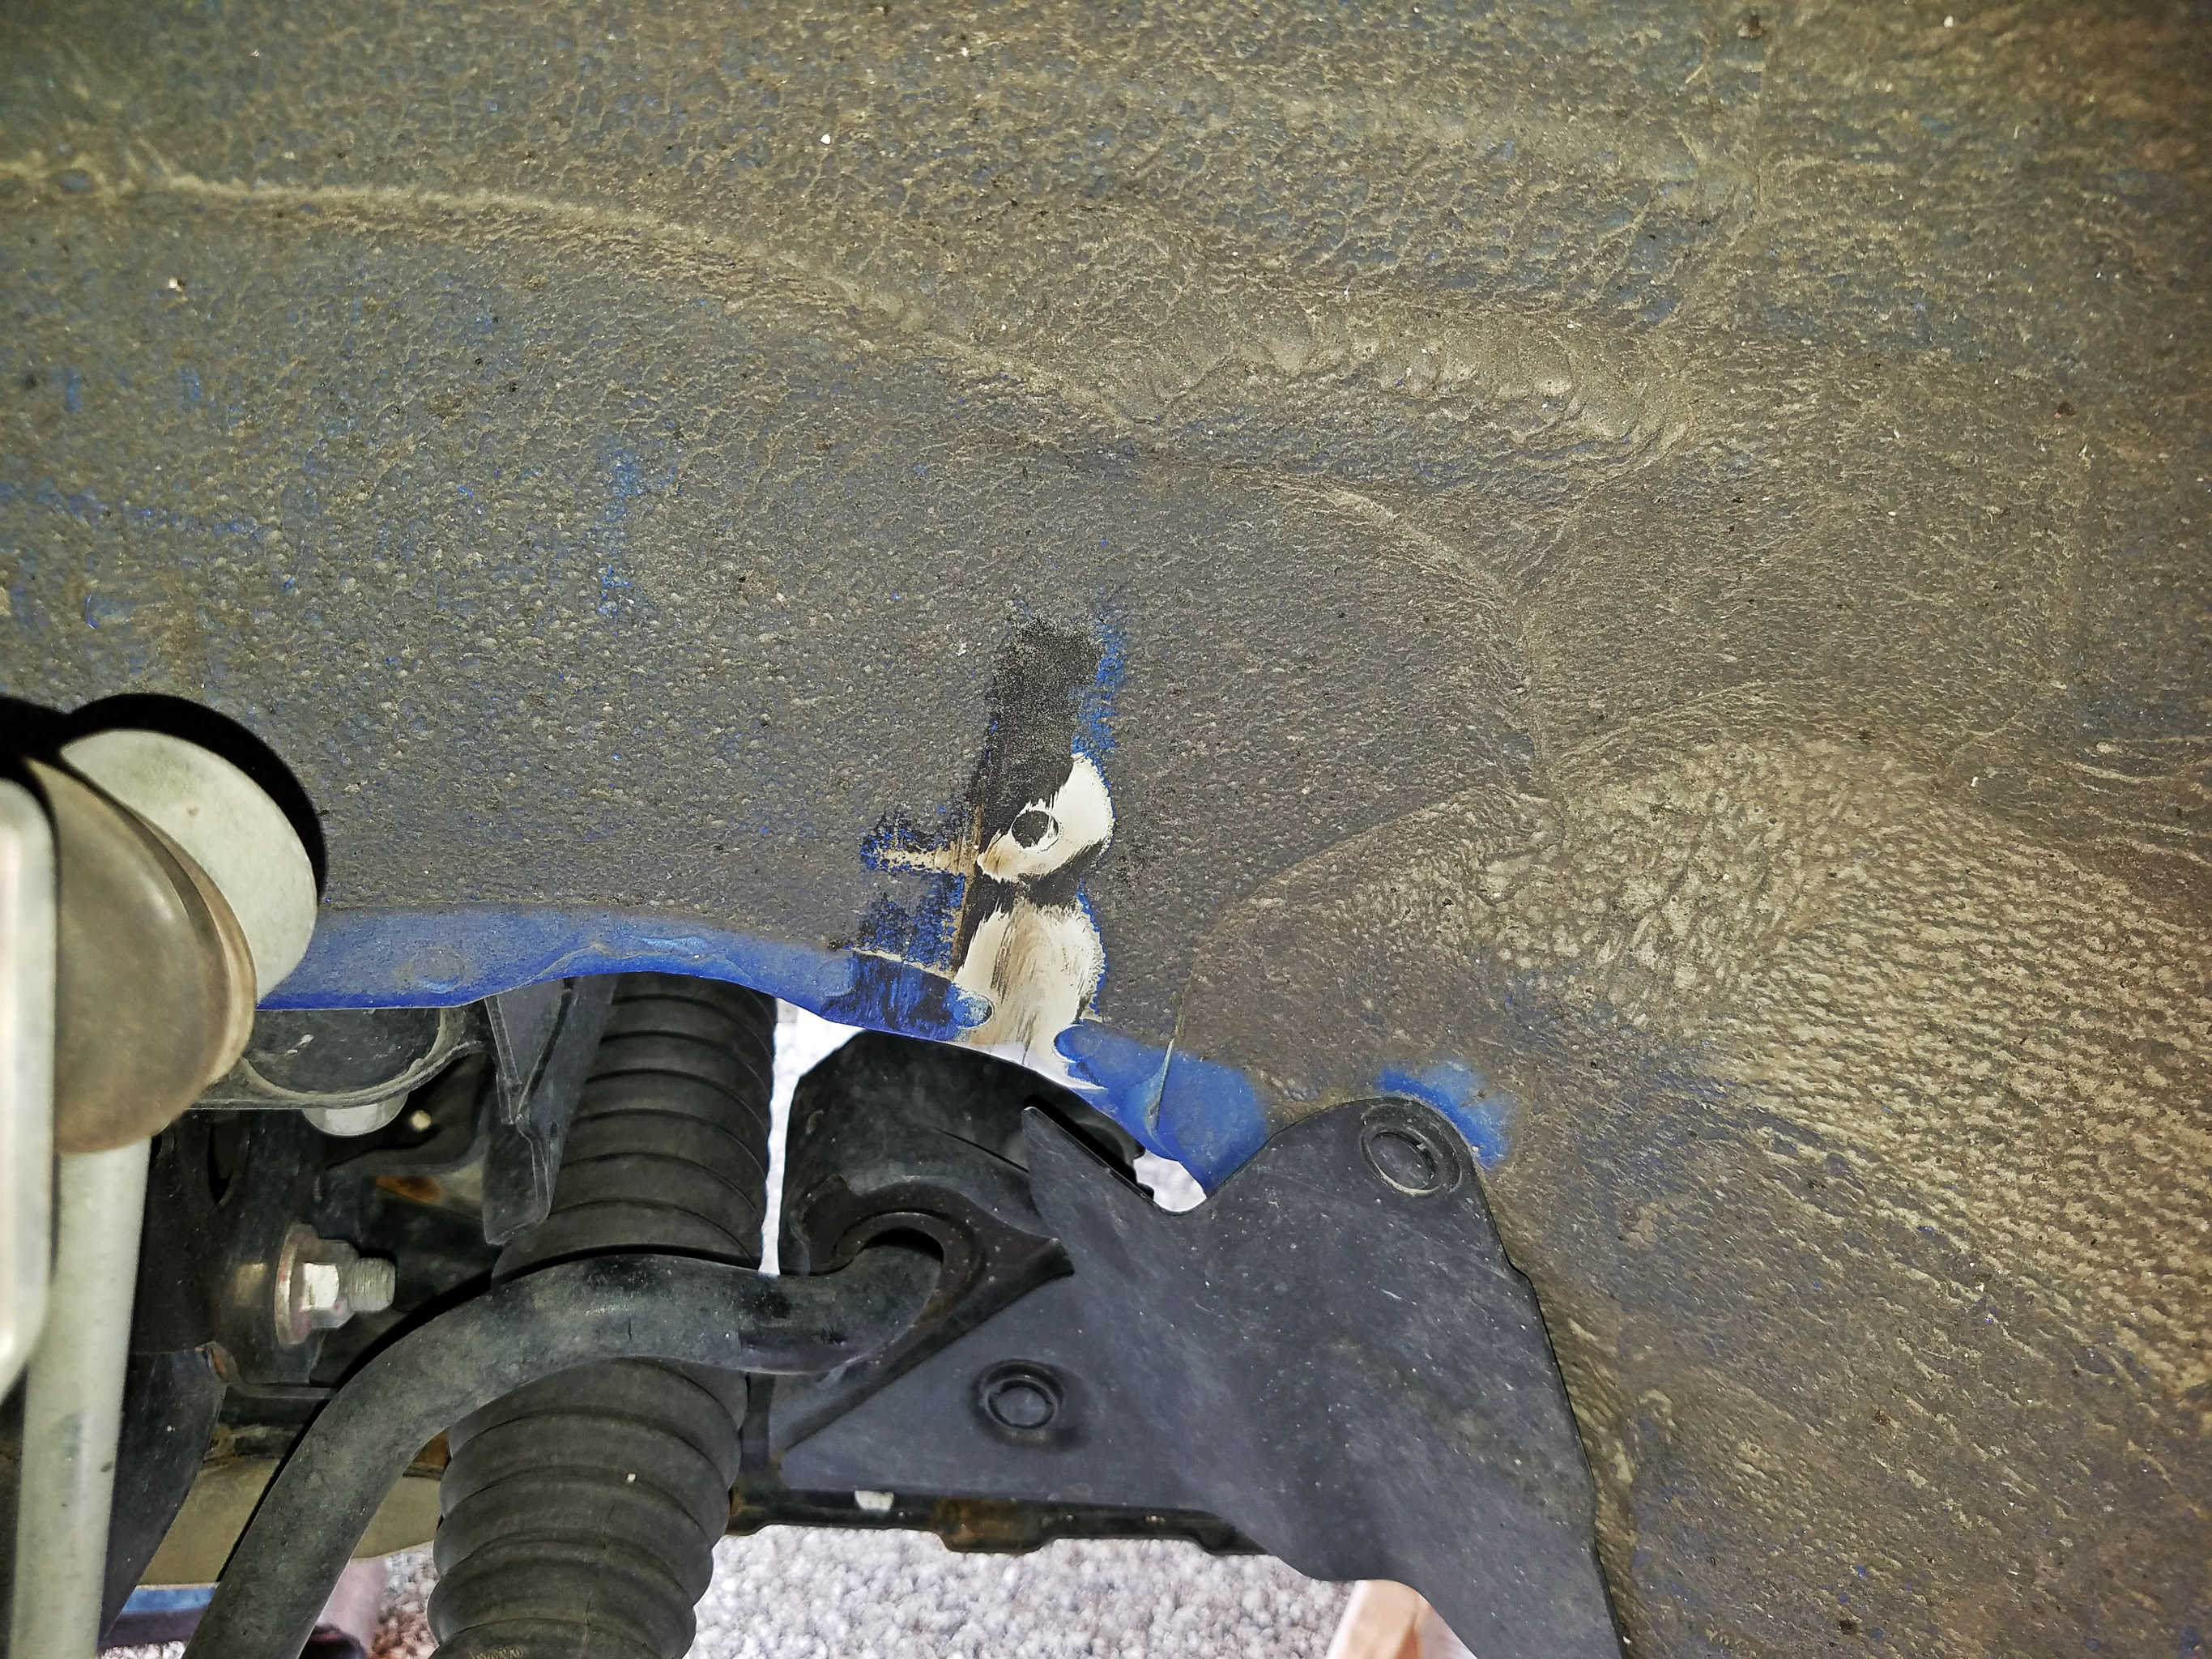
I discovered that I was just barely rubbing the plastic fender liner with the leading inside edge of the tire at full lock on both sides (first photo below), and on the driver’s side, I was also rubbing against the inner metal fender at full lock with the trailing inner edge of the tire (second photo below) which was enough to rub off the rubber undercoating and the blue paint. It was also enough to just barely chunk the inside edge of the tire on that side.
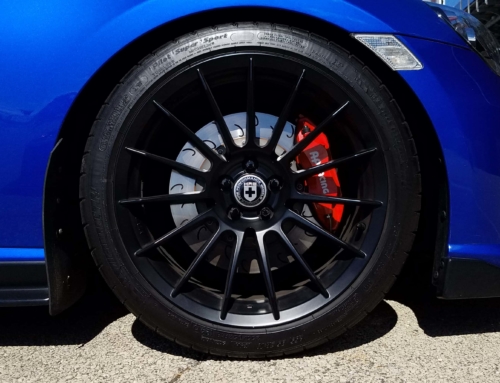
To refresh your memory, I am running 18×9+40 wheels with 255/35 tires. There are quite a few people running variations of these specifications, and it seems that some people rub, while others don’t. At least part of the reason for this is that different brand tires have different cross sections. Michelin Pilot Super Sports (which I have) are known for having a bit of a squarer cross-section, which leaves slightly less clearance than some other tires would, so that might have something to do with it.

Anyway, the point is, I rub, and I don’t like rubbing. So I started looking for solutions to the problem. I didn’t really want to change my setup, both for financial reasons, and because I was REALLY happy with everything the way it was. So I figured I’d look into a way of slightly reducing the steering lock angle to prevent rubbing. I wasn’t sure how easy this would be, but the solution wound up being dead simple.
I was pointed to Velox Motorsports by an FT86Club forum member. Their latest product for this platform is a brake cooling kit. This kit features brake ducts, and backing plates for the front rotors to provide cool air to the rotors straight from the front of the car. The ducting slightly reduces the amount of clearance in the fender, which means that depending on the tire size you are running, you might rub the ducting at full lock. As such, Velox provides, along with the brake cooling kit, a series of shims that can be inserted into the steering rack to reduce the steering lock angle in small increments.
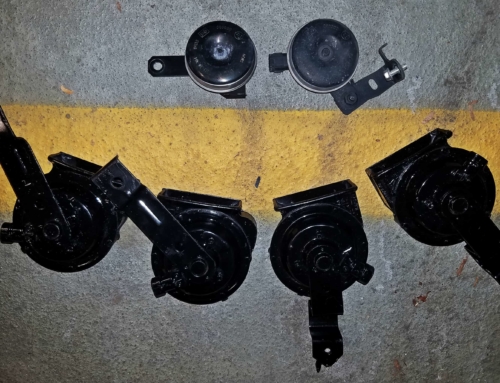
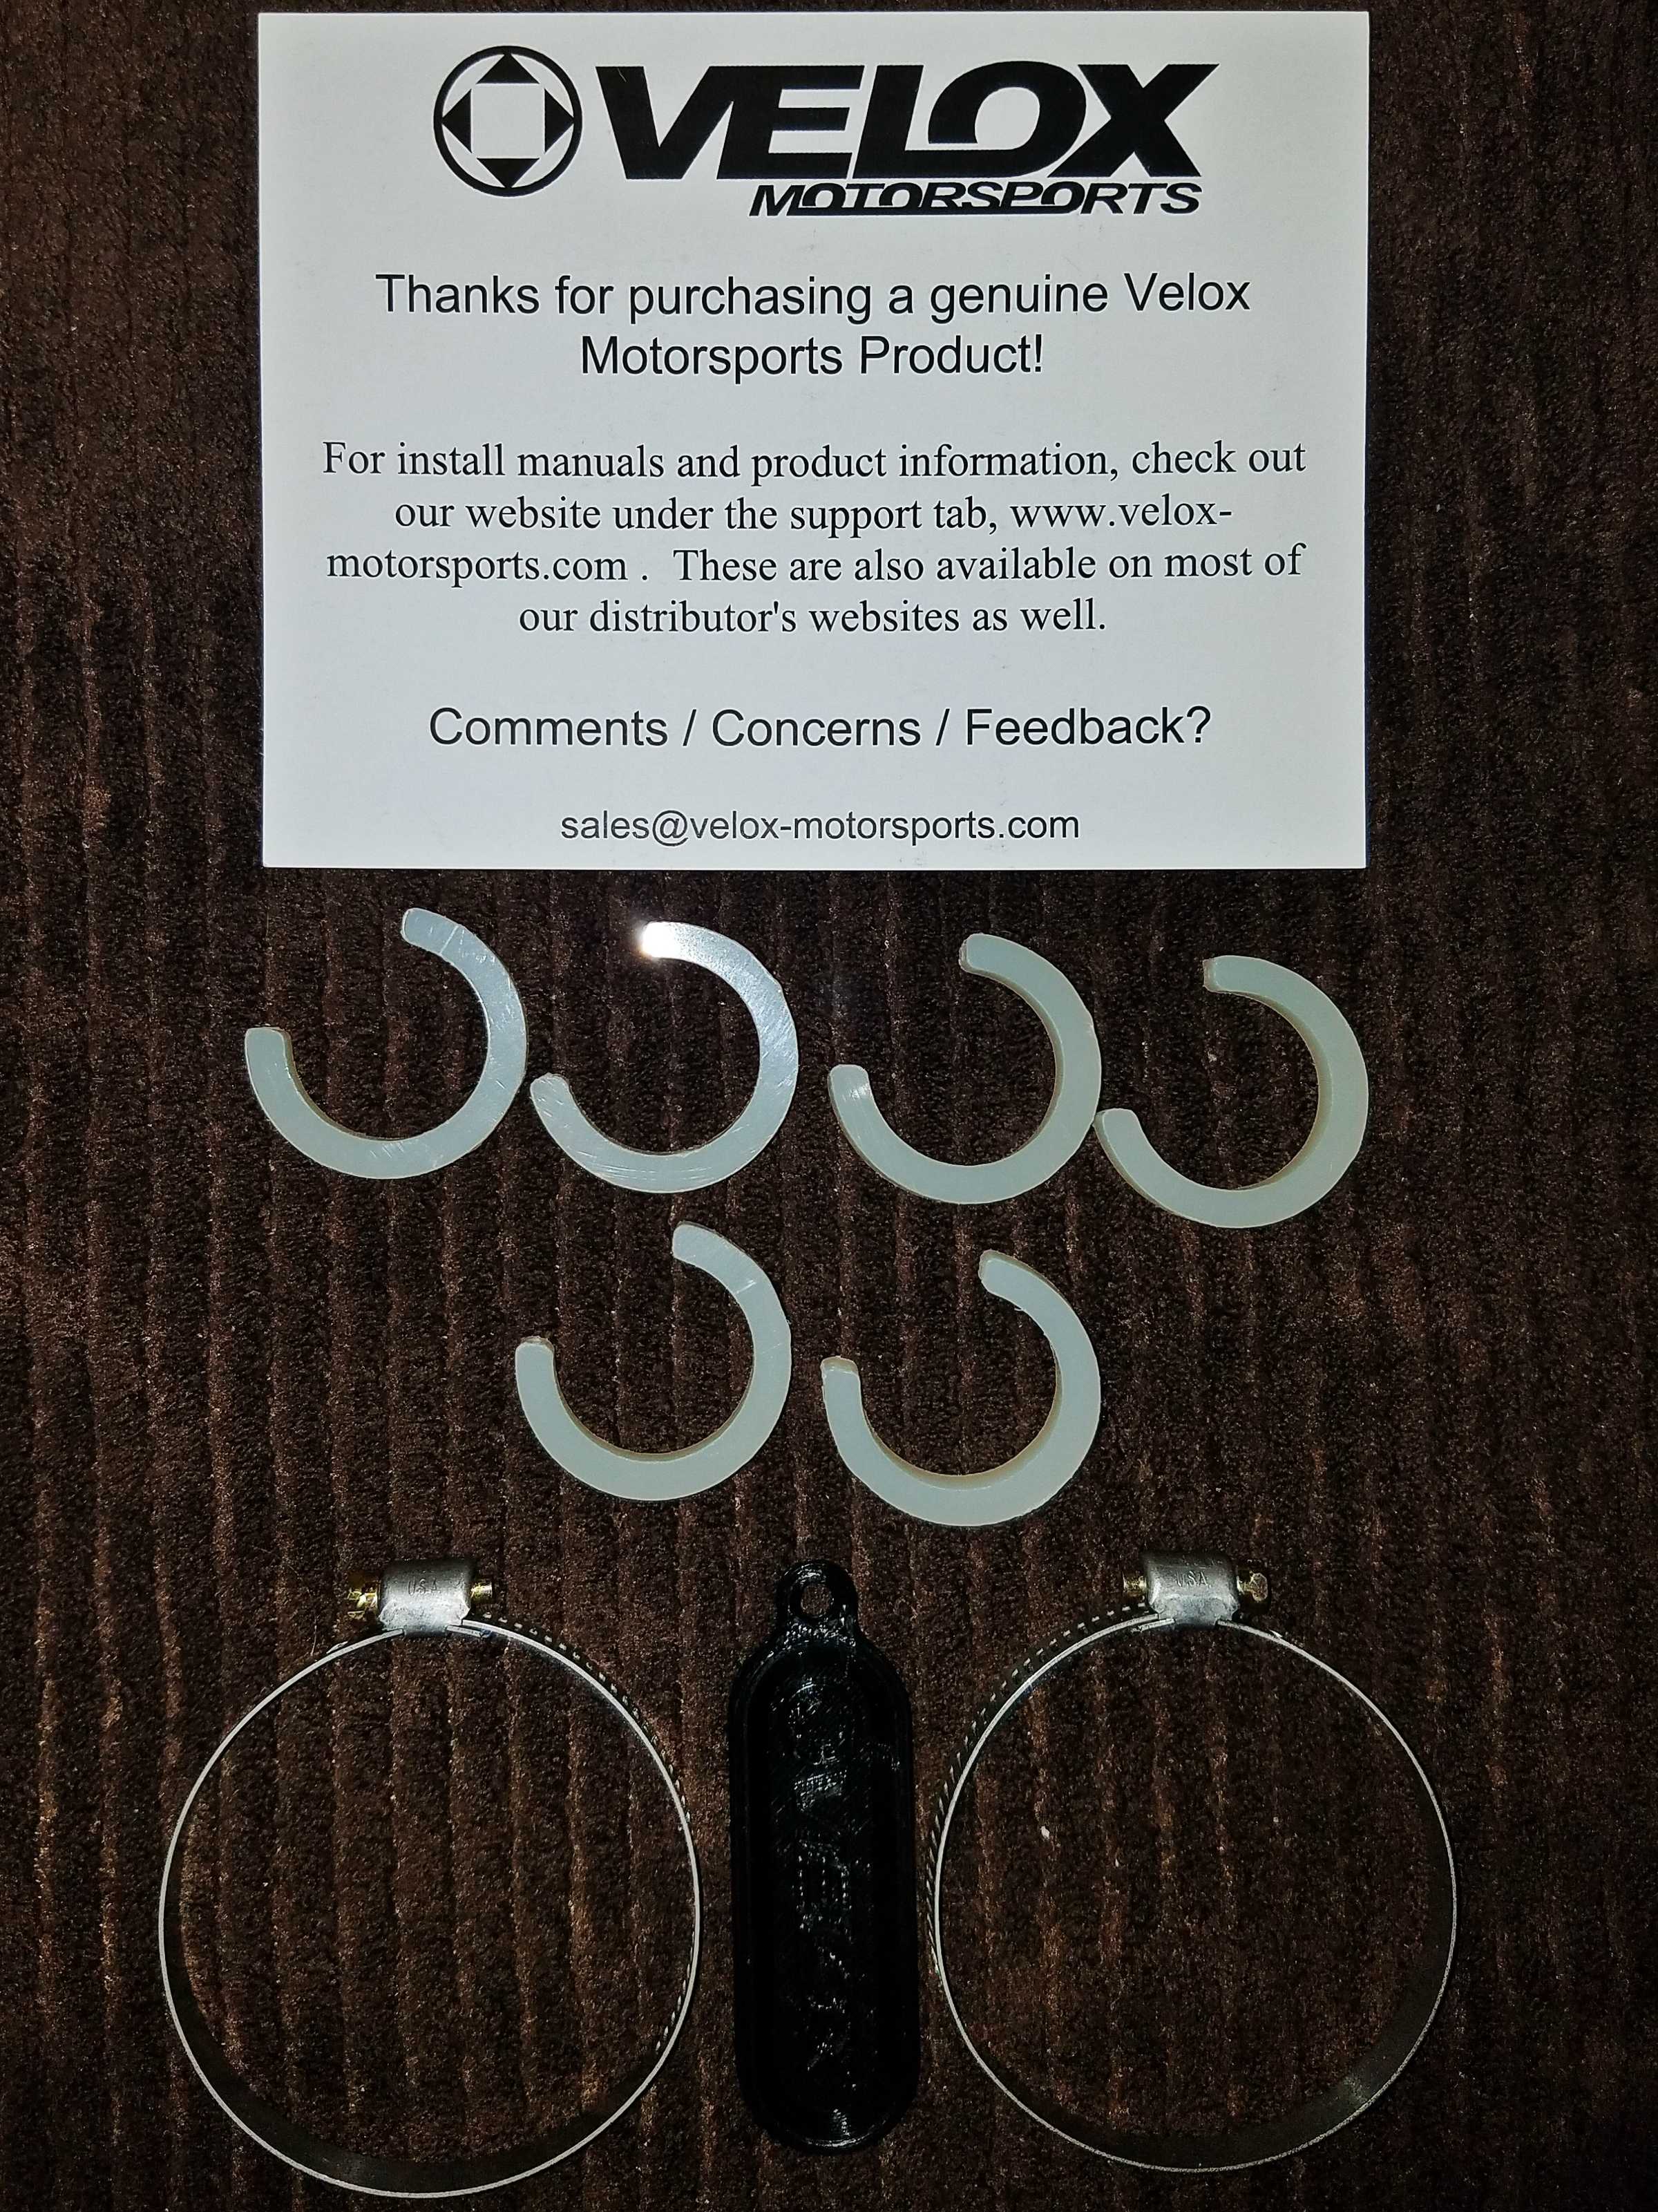
I reached out to Velox Motorsports, and they happily threw together a little “Steering Lock Angle Kit” for me for a small fee. The kit, pictured below, is basically just a handful those shims, and two replacement band clams for the steering rack boots (the ones on the car are crimped, one-time-use bands.)
The process for installing this modification was very straightforward, and only took me about 30 minutes to complete:
Step 1: Jack up the front of the car, and place it on jack stands.
Before we go any further, I want to take a moment to recommend the Arcan XL2T floor jack, and the ESCO 3-Ton Jack Stand. Both of these items are a bit large and unwieldy (the jack is huge and weighs ~100 lb.) However, I bought them because according to the reviews, they did their jobs better than most. In the case of the jack, yes it is big and heavy, but it is VERY low (it gets under my BRZ, which is lowered 1″ AND has a front lip) and it jacks the car up ridiculously high. This is good because those ESCO stands are taller than most stands (on their lowest setting, my friend’s Sears floor jack was about 1/2″ short of being able to lift the car high enough to fit them under the pinch welds. However, these stands are incredibly stable, and, most importantly, they have a flat, 4″ diameter rubber surface on top, meaning they will not scratch or damage your pinch welds, or anything else you rest on them.
Step 2: Remove the fiberglass shield under the car so that you can access the steering rack. This shield is black, and is held on with quite a few smaller 10 mm bolts. Once you remove the proper bolts, you can slide it towards the back of the car (out from under the metal skid plate) and remove it.
Step 3: Locate the rubber boots for the steering rack, and the metal band clamps holding the inner end of the rubber boots. You will want tin snips or some other strong cutting tool to cut off this band clamp. Easiest to cut where it is crimped as that part is slightly raised. With that done, you can pull the boot to the left to expose the rack.
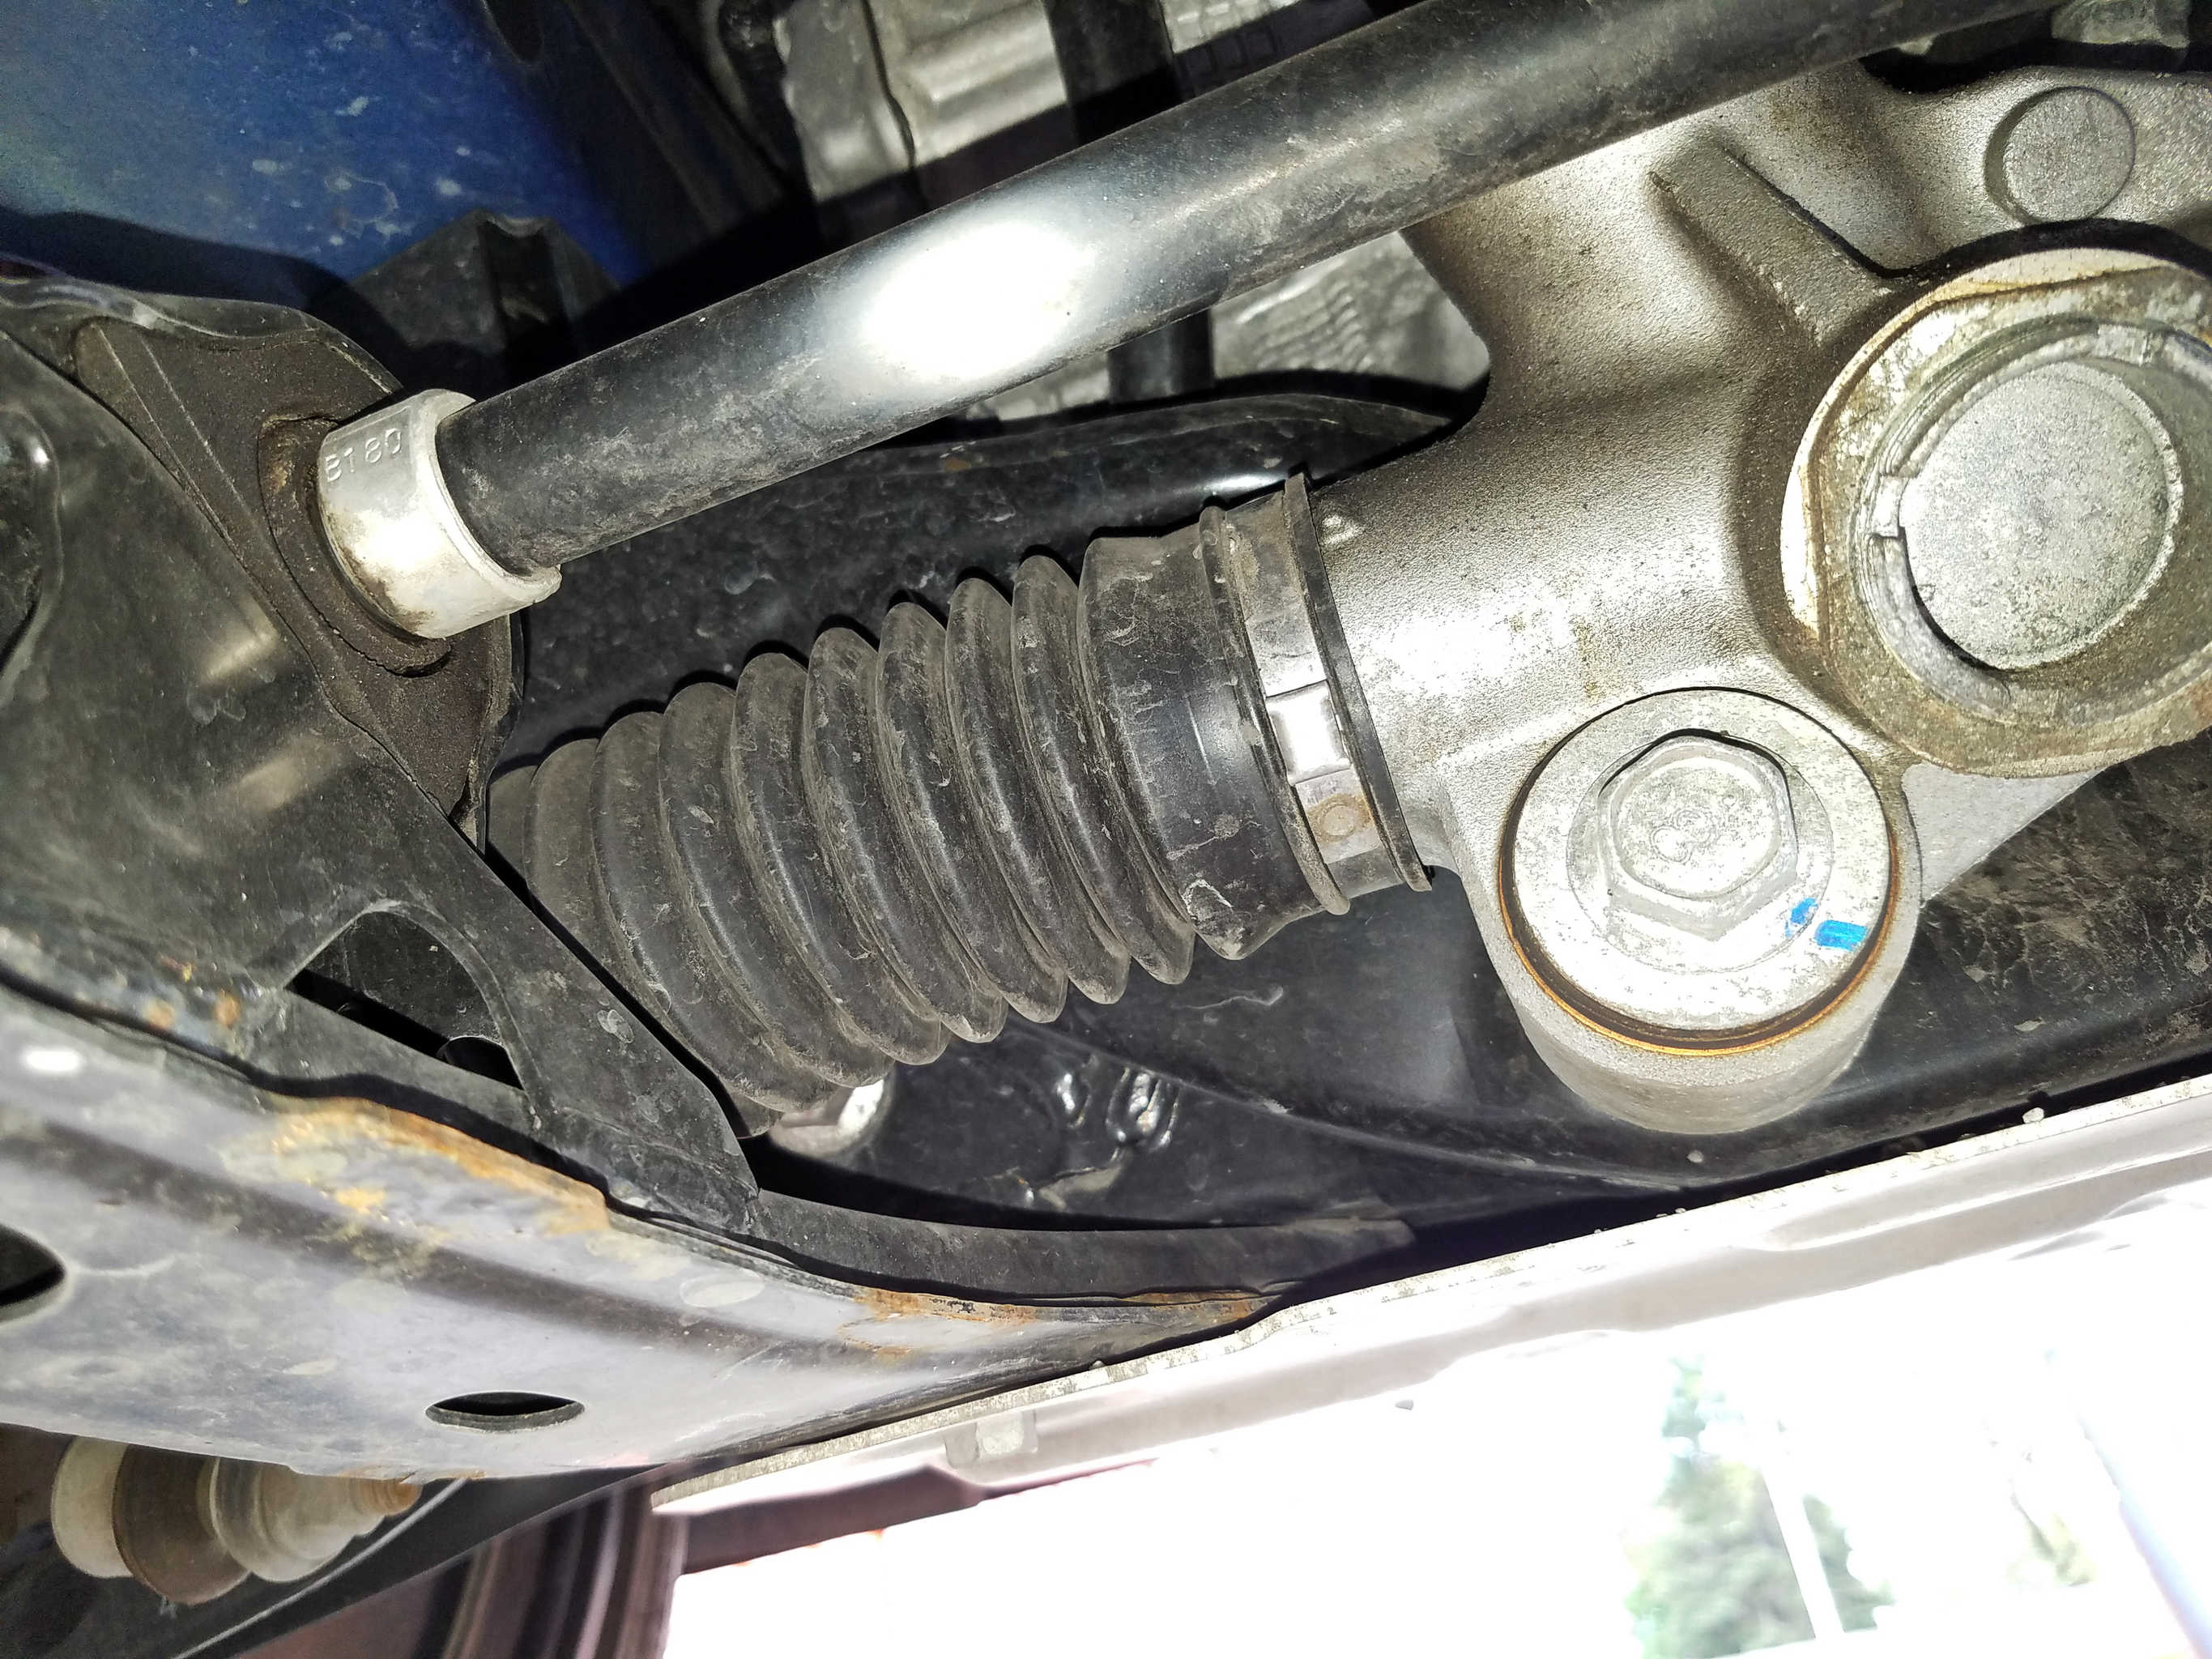
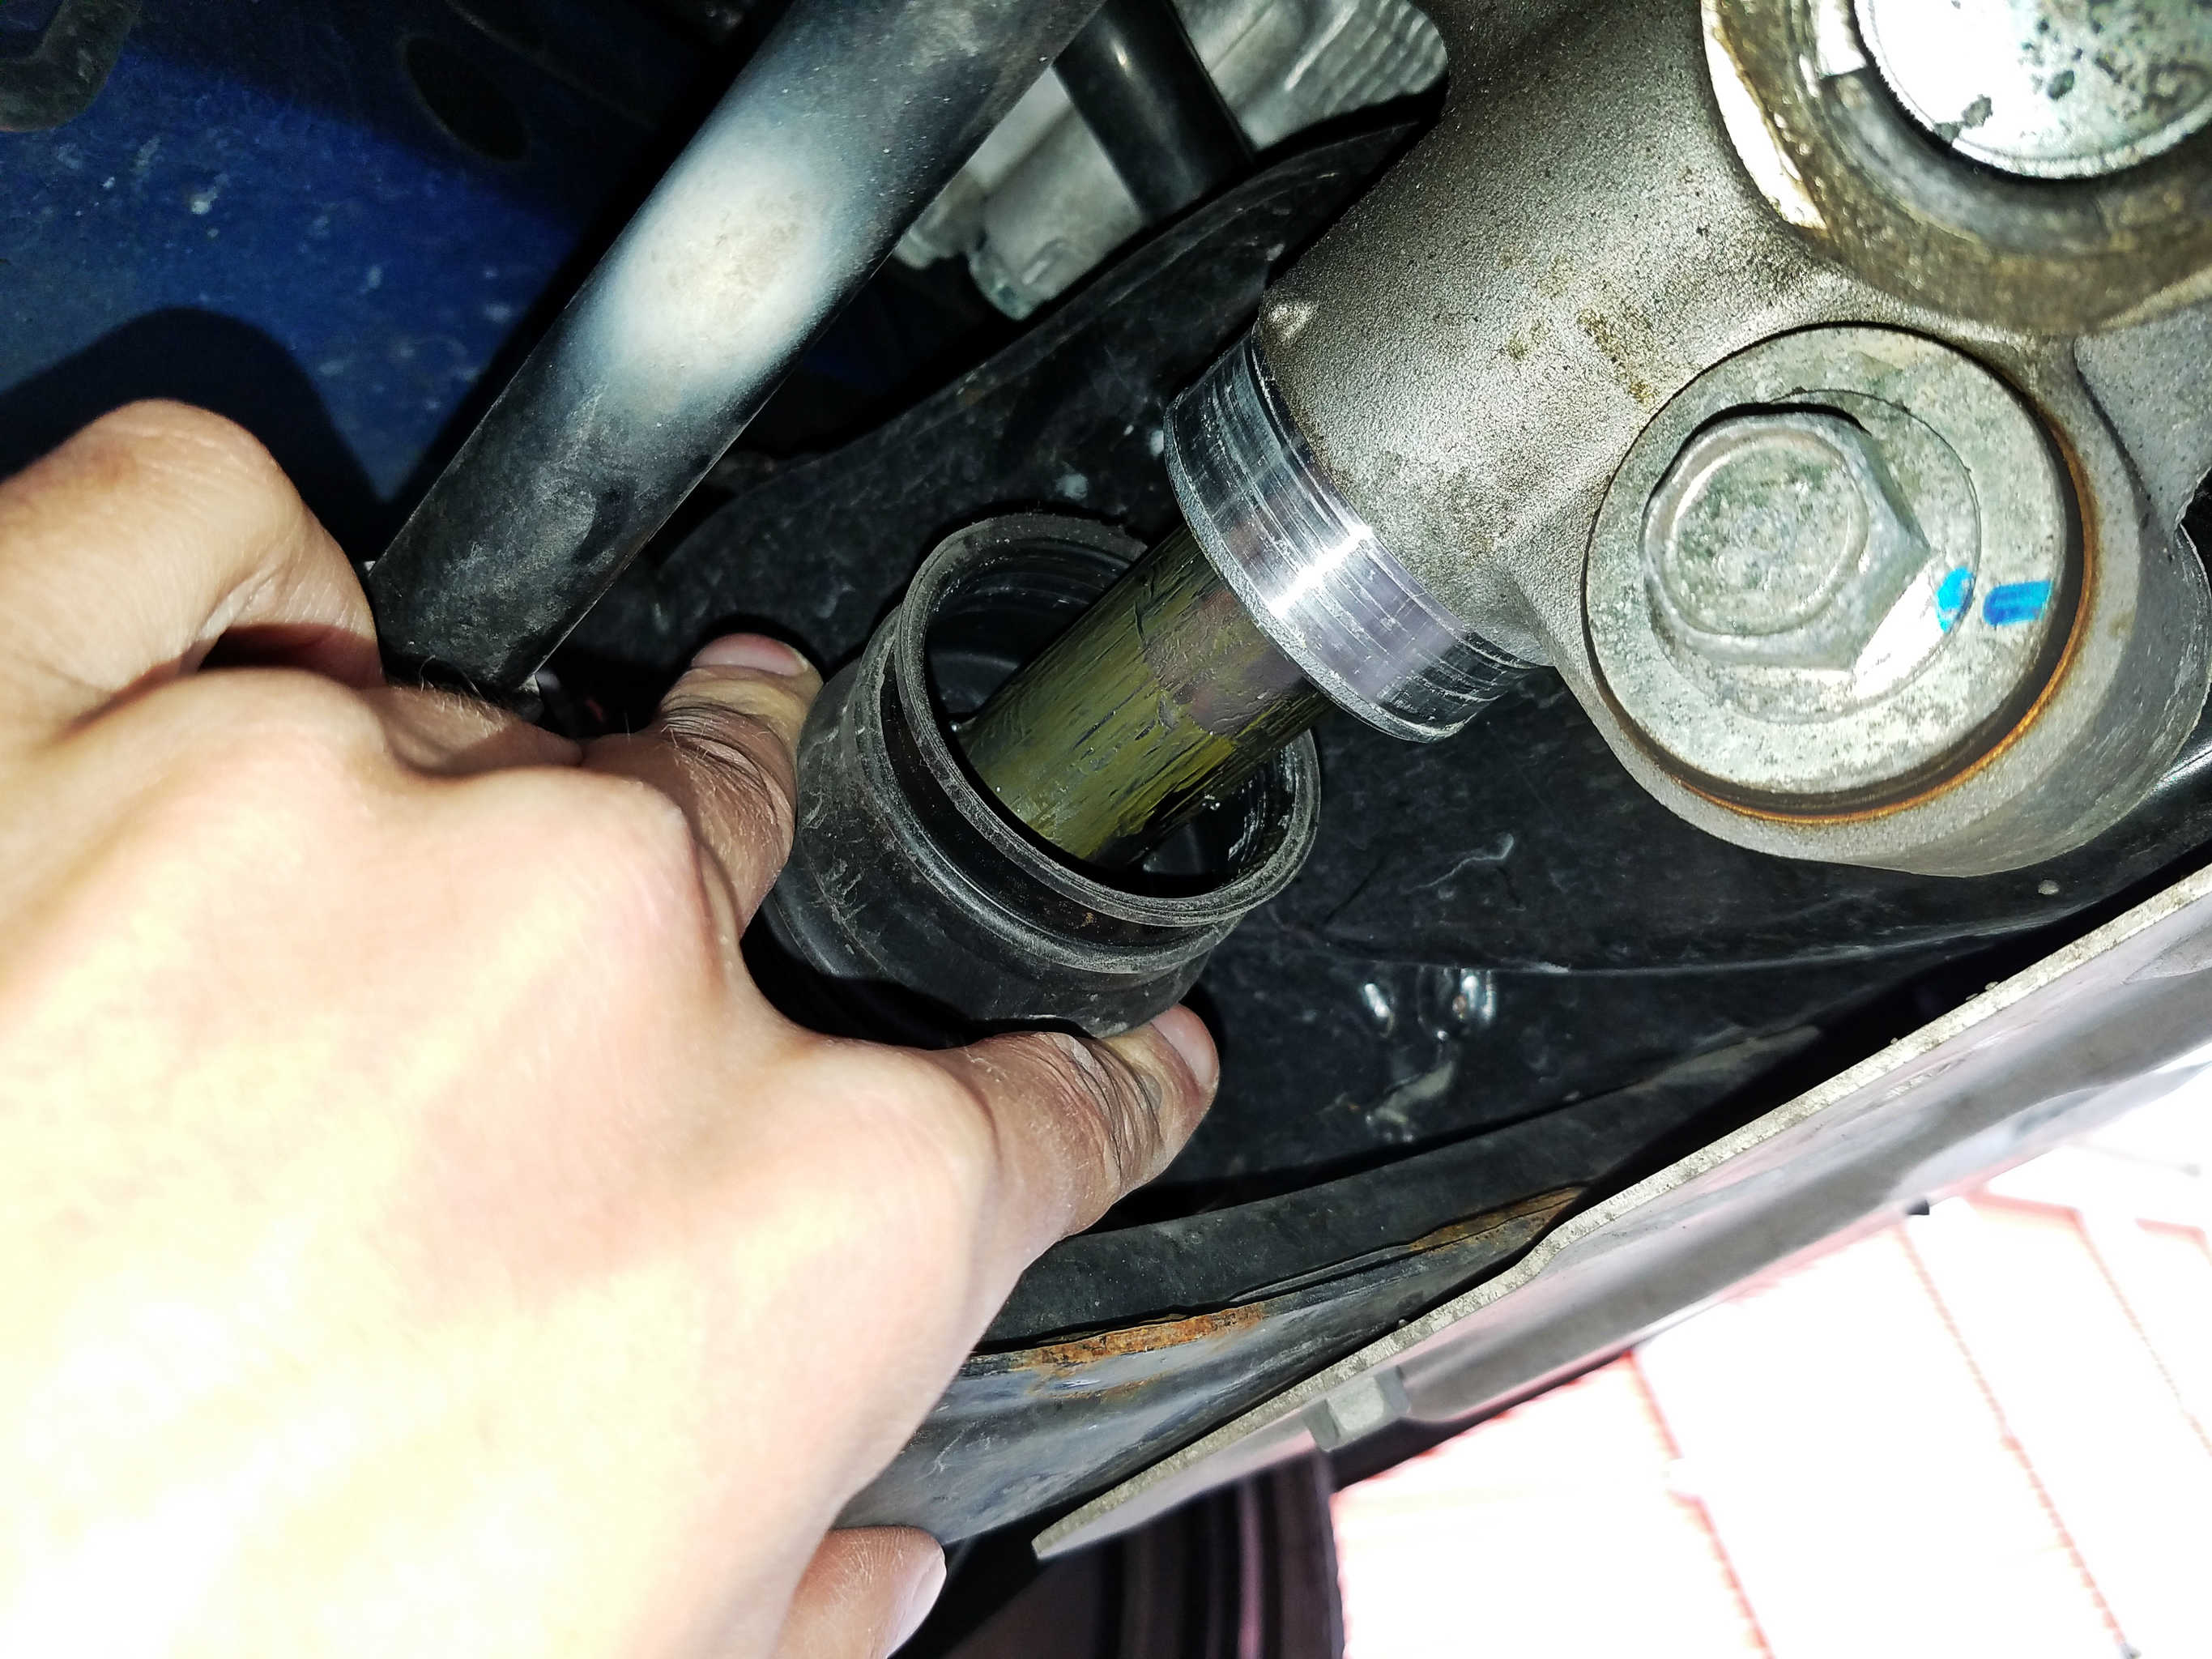
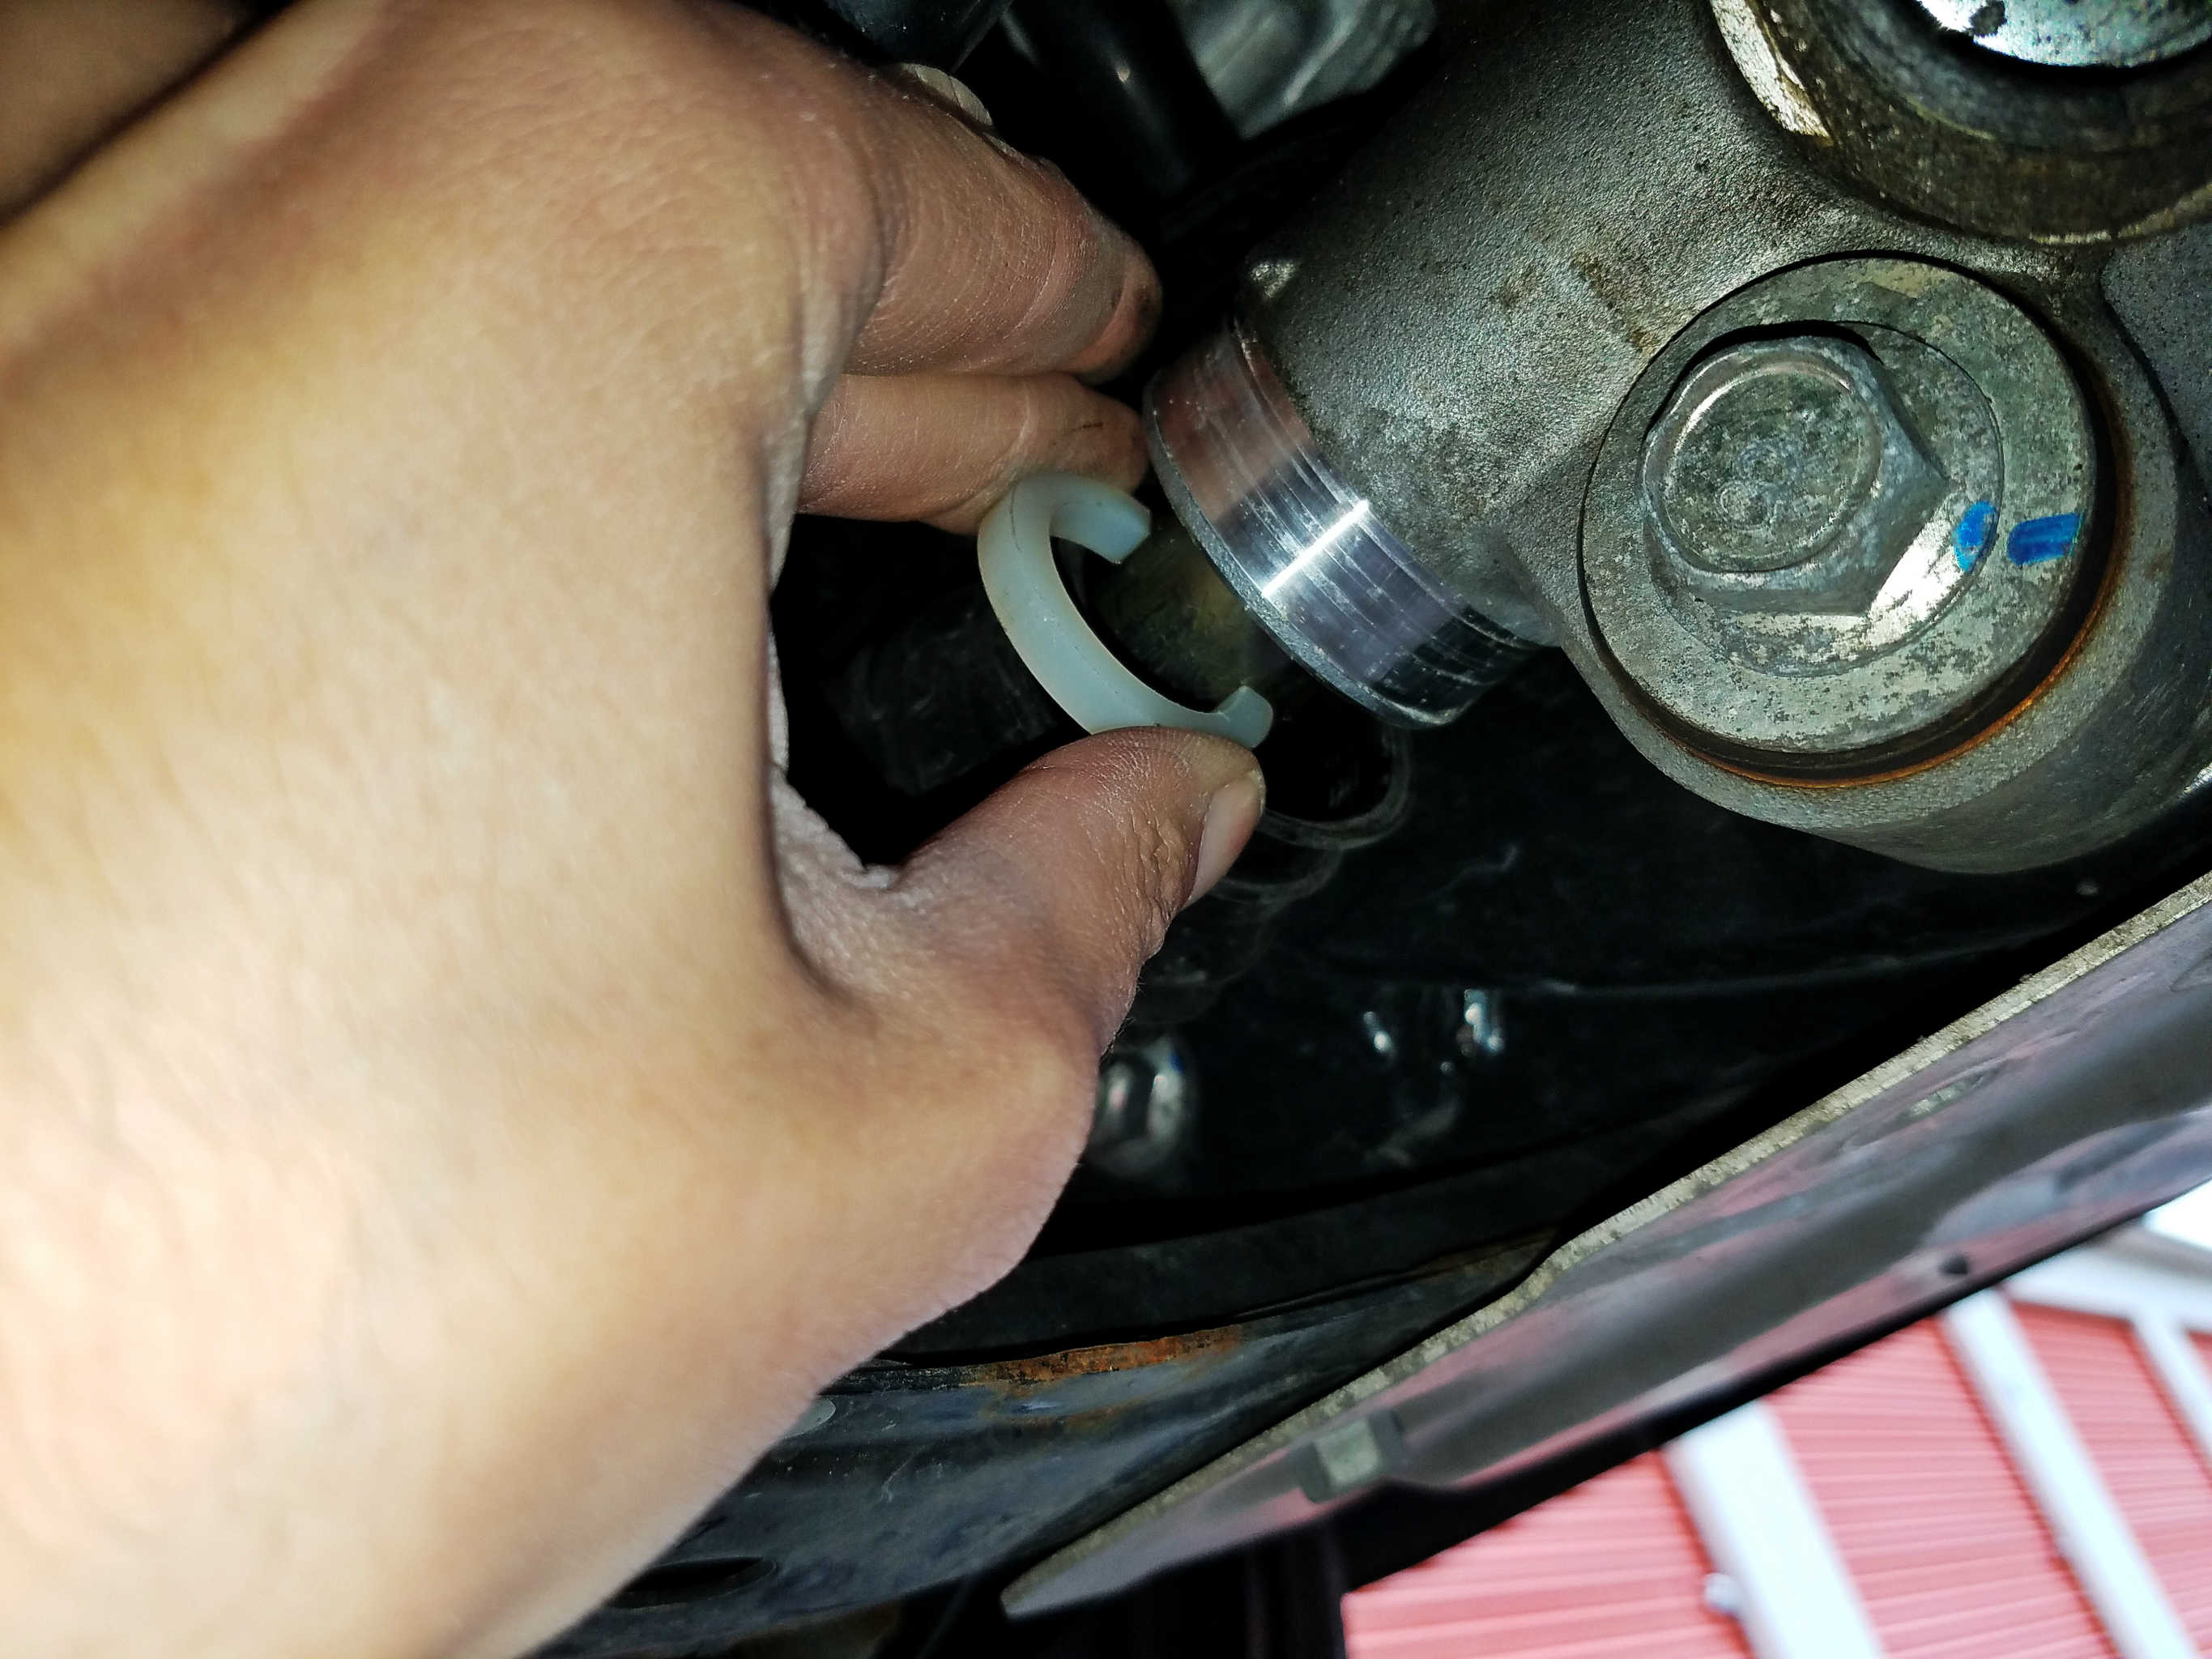
Step 4: Take one of the plastic spacers. According to Velox, the spacer should be installed with the opening facing the front of the car. Simply snap it over the grease-covered rod to install it. You can add multiple spacers, but if you’re like me and are only just barely rubbing, one spacer should be enough (I haven’t heard any rubbing noises since I installed it, but I have yet to chalk up those areas to be sure.
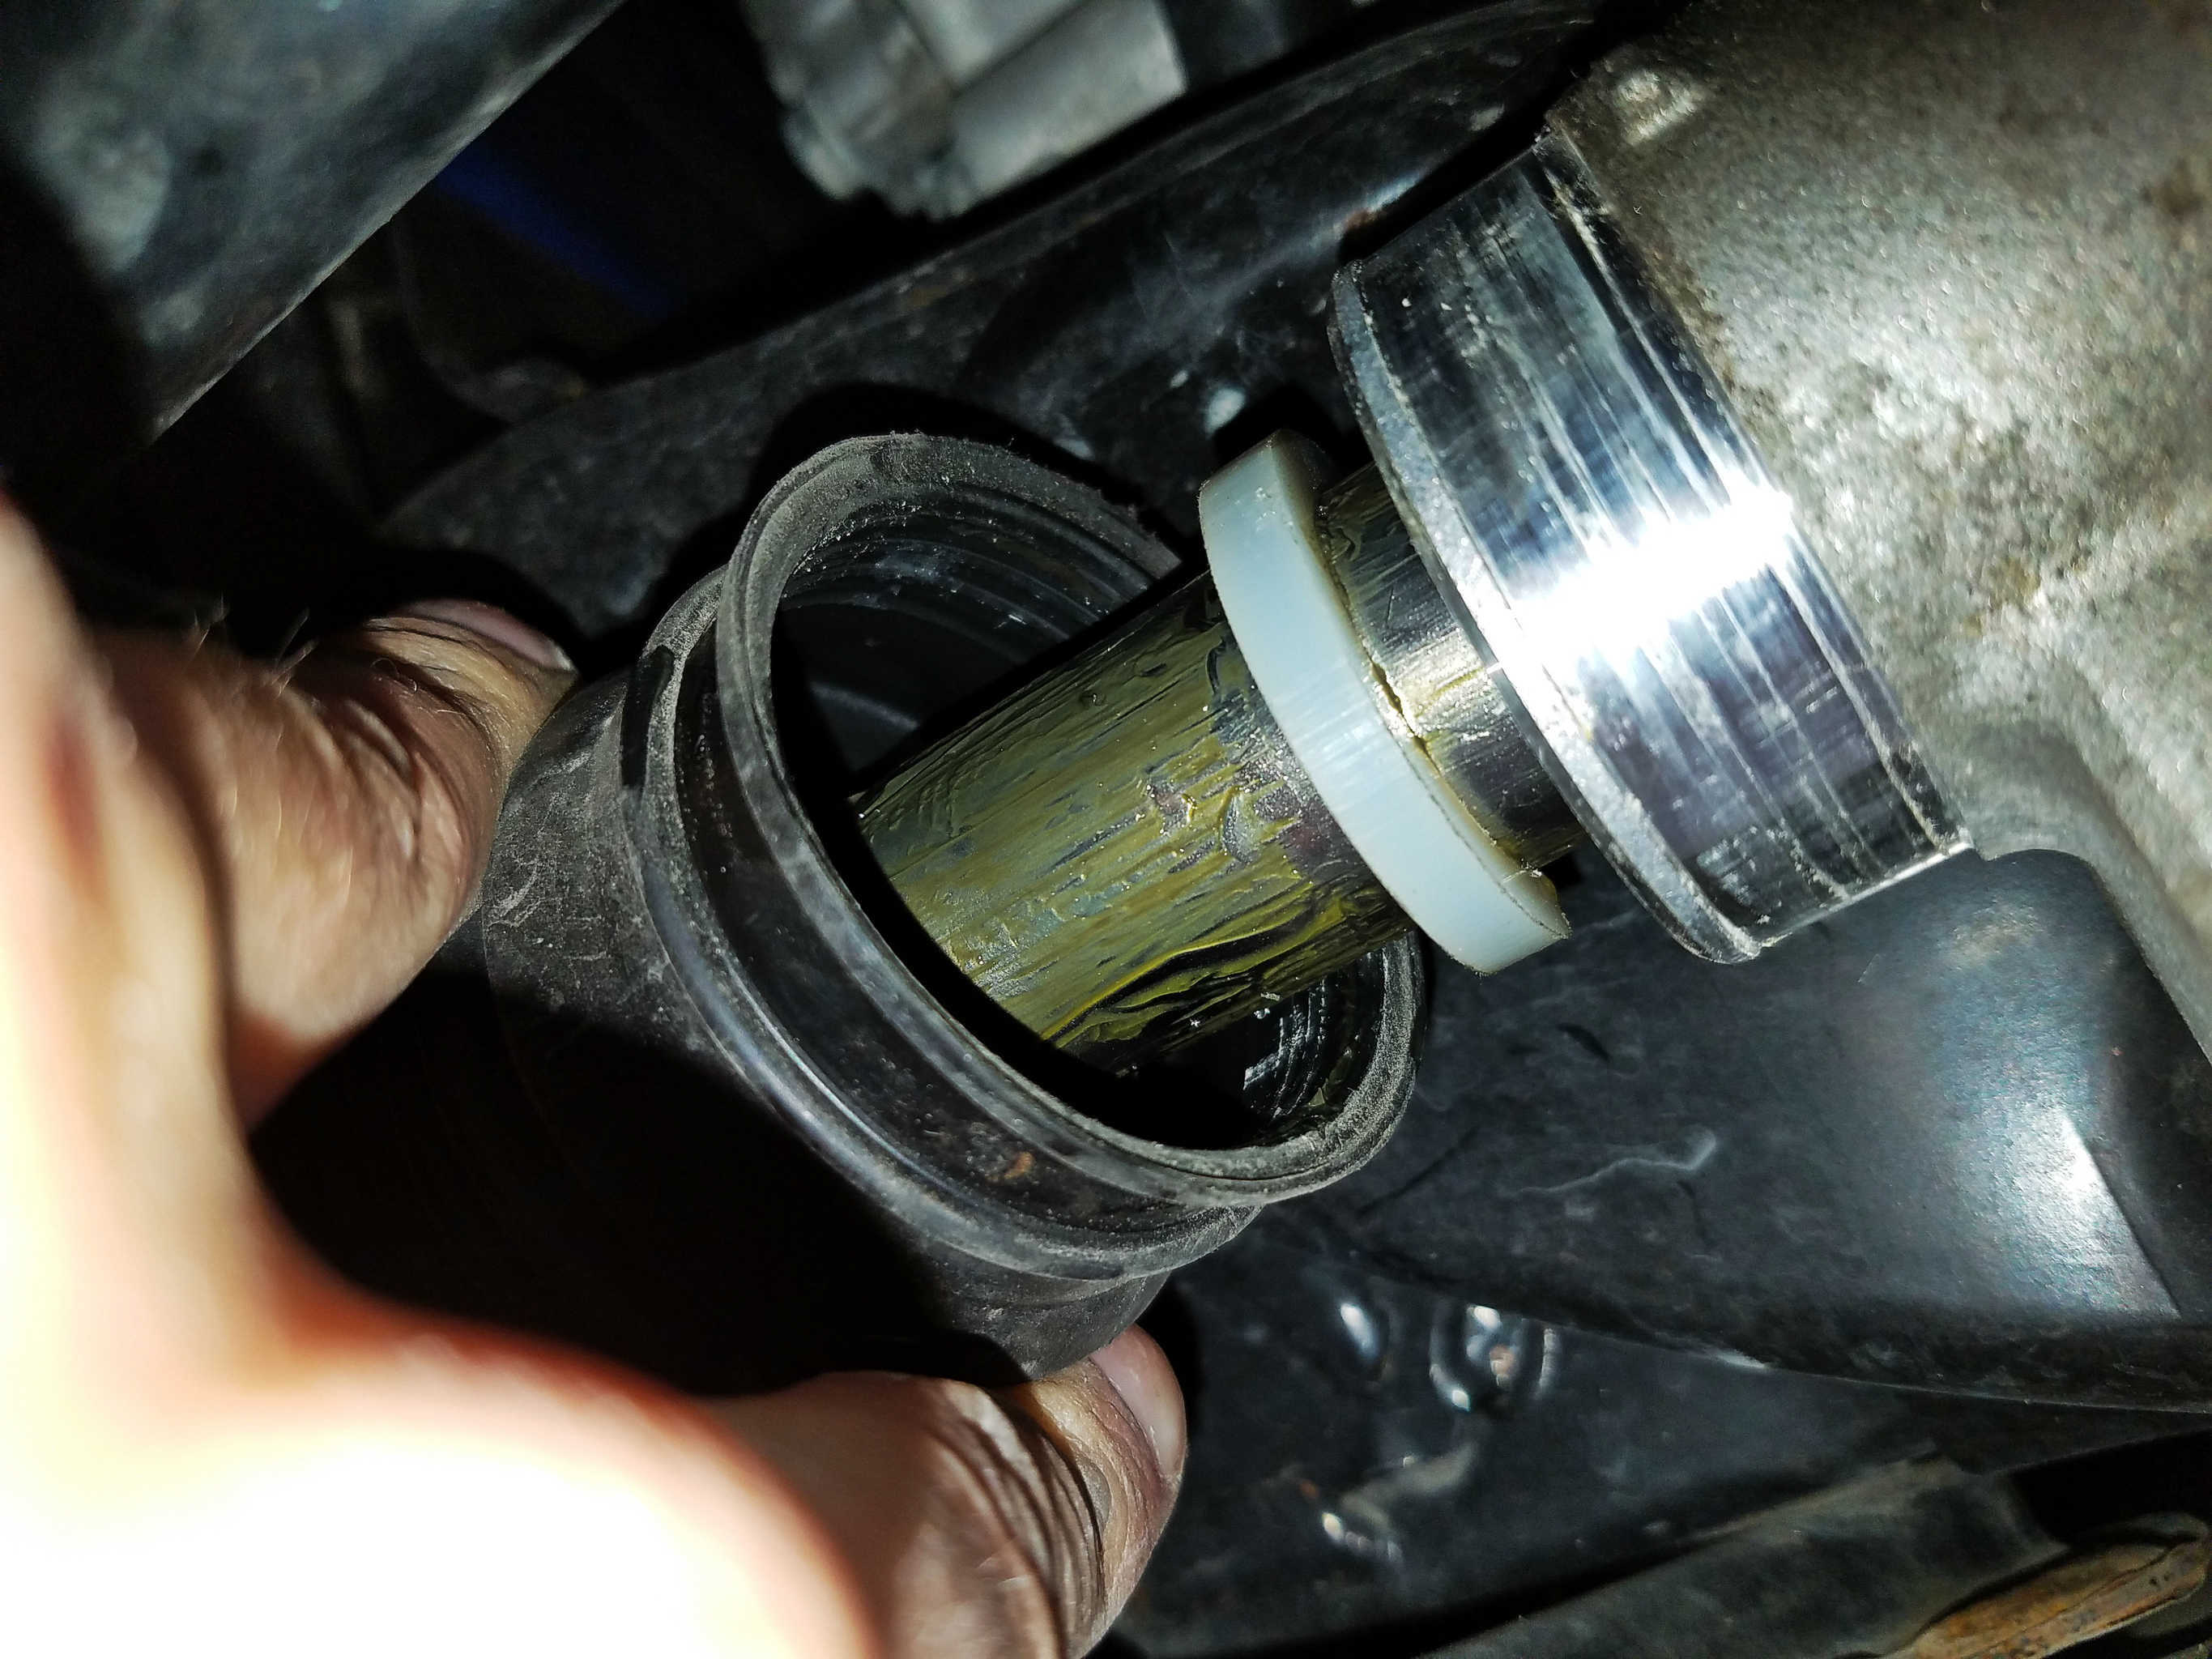
All done! Just reinstall the boot with the new hardware.
Step 5: Reinstall the rubber boot, and secure it using one of the new band clamps provided. Then reinstall the fiberglass shield, and you’re all done!
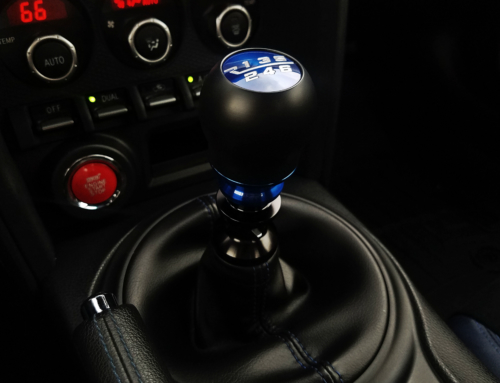
As you can see in the lead photo at the top of this post, the result of that one, tiny spacer is a small reduction in steering lock angle. Velox claims that each spacer will increase your turning radius by about 1.5 feet, which isn’t terribly significant (though obviously that can very well be the difference between making some turns without needing to reverse). The whole point here is that I can’t go full luck without rubbing anyway, which I want to avoid, so I’m not really “losing” anything, because I would be staying away from full lock with or without this kit. The benefit to this kit is just that I don’t have to actively pay attention to the lock angle anymore. I’m re-calibrating my steering rack to my new wheel/tire size, essentially.
With any luck, this solves my problem! I will update this post if I ever wind up needing to add another spacer, but so far this seems to have done the trick. Thanks Velox Motorsports!